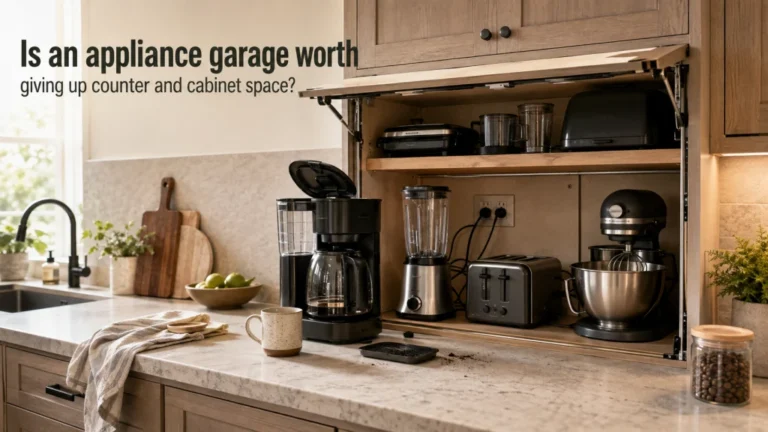
An appliance garage should be sized around appliances in motion, not just their listed dimensions. The usable requirement includes moving parts, plugs and cords, door hardware, hand access, cleaning access, and front landing space. Manufacturer instructions control operating clearances, so a cabinet opening that fits the appliance can still be too small for use. The goal is a model-specific requirement sheet a cabinet designer or installer can work from.
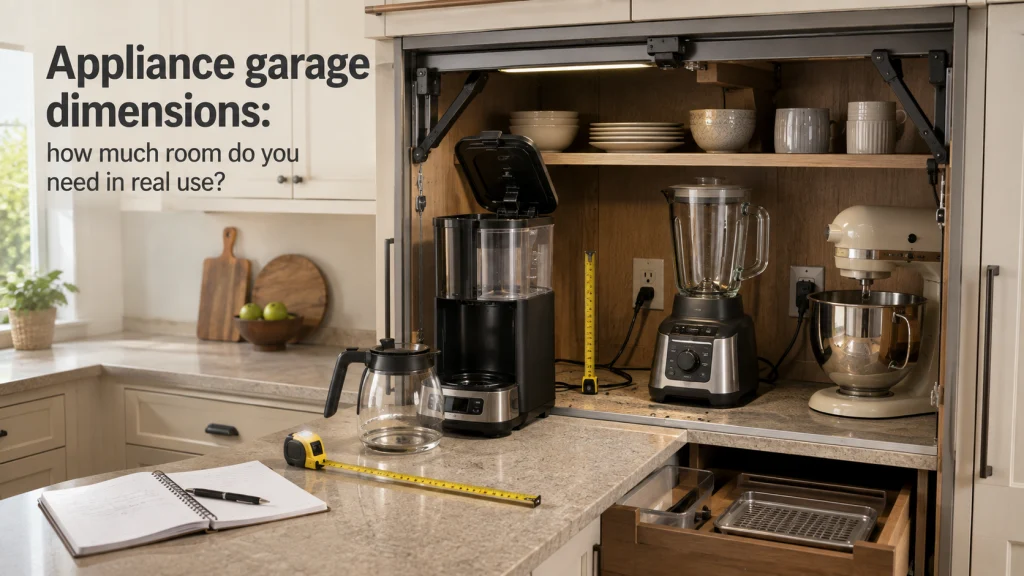
Measure the same appliance twice
Appliance garage dimensions become useful only after you measure the appliance at rest and then measure it again while you actually use it. A coffee maker may fit neatly when the reservoir is closed, yet need much more height when the lid lifts or the tank comes out. A blender may clear the shelf with the jar installed but still need vertical room for the jar to be lifted off the base. The second measurement is usually the one that exposes why a cabinet that looks generous on paper can feel cramped every morning.
Good kitchen appliance garage dimensions therefore begin with a motion check, not with a stock cabinet width or a rule about adding the same clearance to every appliance. Open every lid, remove every part that normally comes off, reach the controls, load the appliance, unload it, and simulate the cleanup routine. If an appliance must be pulled forward before it can run, measure that forward movement too rather than pretending the closed cabinet footprint is the operating footprint. The useful appliance garage size is the space required by the whole routine, not the smallest box that can hide the machine. Vertical options are part of home storage solutions, but they should earn the wall or door space by improving access rather than simply adding more pockets.

This 25-foot retractable tape measure has fraction markings on the blade and a self-locking design. Its rubber overmold adds grip while taking repeated cabinet and appliance measurements. Use the same scale first on the stored appliance and again with lids, tanks, doors, and pull-forward travel in their real-use positions.
Check On AmazonIf you click this link and buy, we earn a commission at no additional cost to you.
Define the four dimensional layers before choosing cabinet dimensions
Separate the requirement into four layers: the appliance body, the operating envelope, the cabinet and hardware intrusion, and the human or landing space. The body is the verified size of the exact model in its stored position. The operating envelope adds moving doors, lids, tanks, bowls, jars, levers, handles, accessories, cords, and manufacturer-required clearance. The cabinet layer then subtracts space taken by the finished back, shelves, tracks, hinges, lift mechanisms, or pockets.
The human layer covers room to grasp parts, remove containers, and set down hot or wet items. The broader appliance garage planning decision matters because hiding equipment can reduce useful counter space. Keep the layers separate so storage size is not mistaken for operating space. One appliance may need height while another needs front movement.
| Layer | Measure from the exact setup | Record on the worksheet |
|---|---|---|
| Appliance body | Stored size, weight, protrusions | Verified closed dimensions |
| Operating envelope | Moving parts and required clearance | Maximum real-use width, depth, height |
| Cabinet and hardware intrusion | Back, shelves, hinges, tracks, pockets | Space subtracted from the interior |
| Human and landing space | Hands, pull-forward travel, set-down area | Space needed to use and clean |
Fill the four rows for every appliance that will live in the garage, then compare the largest requirement in each direction with the finished cabinet interior. This makes the framework usable as a measurement tool so the framework works as a measurement tool. If two appliances share one opening, keep separate rows for each machine before combining them into a station requirement. The final cabinet dimensions should come from those completed rows, not from a generic garage-size chart.

This 6-inch stainless steel digital caliper uses a large LCD and switches among inch, fraction, and millimeter readings. Its short measuring range is useful for smaller protrusions and hardware dimensions that are easy to miss with a tape. Record those detailed measurements as separate appliance, operating-envelope, cabinet-intrusion, and access values.
Check On AmazonIf you click this link and buy, we earn a commission at no additional cost to you.
Record the exact model before you record the cabinet
Start the worksheet with the manufacturer name, exact model number, published width, depth, height, and weight where those details are available. Then verify which dimension describes the appliance as stored and which operating movements are not included in that number. A family name is not enough because two machines sold under similar names can use different tanks, handles, hinges, or footprints. If cabinetry is being specified around equipment that is already owned, measure the actual unit as a cross-check while still using the manual for model-specific operating requirements.
A current countertop-oven example shows why this matters. Breville lists the Smart Oven Air Fryer Pro BOV900 at 21.4 inches wide, 17.3 inches deep, and 12.7 inches high, while its instruction manual separately requires at least 4 inches of operating space on both sides and 6 inches above the oven. Those clearance numbers belong to that exact oven and should not be copied onto a coffee maker, mixer, or another oven model. The point is that the cabinet decision needs both the physical dimensions and the exact operating instructions before a final interior requirement can be trusted.

The PTD210 bundle includes the Brother label maker and four label tapes. It gives you a dedicated way to label exact model numbers on worksheets, manuals, or appliance-planning folders. Keeping the model identifier physically tied to the measurement record helps prevent similarly named appliances from being mixed during cabinet planning.
Check On AmazonIf you click this link and buy, we earn a commission at no additional cost to you.
Measure every position the household actually uses
A stored appliance occupies only one position in its routine. Measure it closed, then check filling, loading, operating, unloading, accessory removal, and cleaning. Record the largest real envelope in each direction. This shows whether the appliance can stay in place or must slide forward.
Write each movement beside the dimension it changes. A top-opening part changes height, a front door changes depth, and a side component can change width. Measure simultaneous movements together, not as separate best-case positions. The examples below show how that works.
Coffee reservoir, hopper, filter basket, and carafe movement
For a coffee setup, check more than closed height and depth. Open or remove the reservoir as it is handled during refilling, then trace the filter basket, hopper, and carafe paths. A tank that lifts upward may need more height than one that slides forward. Leave enough hand access to remove parts cleanly.
Mixer head, bowl movement, and accessory removal
A stand mixer changes shape when the head tilts, the bowl moves, or an accessory comes off. Verify the exact model because mechanisms vary. KitchenAid’s storage guidance also highlights support and pullout clearance. Record the full bowl and attachment path even when the mixer stays on the counter.
Blender jar and lid removal
A blender may have a small base but still need vertical movement. Measure with the jar seated, then trace the path for removing the jar and lid. Check that the door opening does not force an awkward turn toward the sink. The useful space is the clear lift path.
Countertop oven door and exact heat-clearance requirements
A countertop oven needs separate checks for door movement and model-specific clearance. The BOV900 example shows why body height alone is insufficient. Measure the open door and pan-removal path without turning one model’s clearance into a general rule. If the manual requires more space than the enclosure provides, do not plan to operate it there.

This eight-piece set uses self-adhesive appliance sliders that attach under countertop equipment. The rollers are marketed for appliances such as mixers, coffee makers, and air fryers that may need to move across the counter. They are useful for testing and repeating the real pull-forward travel described in this section instead of measuring only a stored footprint.
Check On AmazonIf you click this link and buy, we earn a commission at no additional cost to you.
Calculate usable depth from the finished back, plug, cord, and door system
Nominal cabinet depth is not usable appliance depth. Start at the finished interior back and account for the back panel, outlet, plug, cord bend, hardware, handle, and closed door position. Compare what remains with the appliance’s stored depth and required forward movement. This catches the common case where a cabinet sounds deep enough until the real plug and door are included.
The plug and cord deserve their own worksheet line because they cannot always be flattened behind the machine. Record where the cord exits, how the plug sits, and whether the proposed position forces a tight bend. Electrical location and cabinetry work belong with the appropriate professionals rather than being improvised around a cramped opening. For measurement purposes, anything that occupies interior depth must be subtracted before the remaining space is called usable.
| Depth step | What to enter | Running logic |
|---|---|---|
| Finished interior depth | Actual clear inside depth | Start |
| Back, outlet, plug, cord | Largest rear projection | Subtract |
| Door or pocket hardware | Interior mechanism intrusion | Subtract |
| Usable stored depth | Remaining appliance space | Compare with stored depth |
| Forward operating travel | Movement beyond cabinet face | Add to front-zone need |
If the appliance moves past the cabinet face during use, the front counter becomes part of the operating envelope. That may be workable, but it must be planned rather than hidden inside a storage measurement. Include the open door, pull-forward distance, and removal path for hot or wet contents. A garage that stores the machine but makes every use awkward has solved only the visual problem.

This 25-foot retractable steel tape measure includes easy-read fraction markings and a slide lock. The long blade can span the finished cabinet depth while also measuring rear projections and forward movement beyond the cabinet face. Use those readings to separate usable stored depth from the extra front-zone travel needed during operation.
Check On AmazonIf you click this link and buy, we earn a commission at no additional cost to you.
Calculate usable height after shelves and lift hardware
Interior height should be measured after every shelf, trim piece, and door mechanism that occupies the upper part of the opening is accounted for. A lift-up front can clear the counter nicely while still requiring its own mechanism and motion path. Blum describes its AVENTOS HL top as a system that lifts a one-piece front parallel to the cabinet and specifically lists appliance garages among its applications. That makes the hardware itself part of the dimensional plan, not a decorative detail to choose after the appliance space has already been fixed.
Next compare the remaining height with the appliance’s tallest real operating position. A closed coffee maker, blender, or mixer may fit under a shelf while the part you need to lift cannot clear it. If a shelf above is adjustable, record the position that leaves the appliance functional and check what storage capacity is lost as a result. Usable height is therefore the clear vertical path for normal handling after hardware is installed, not the raw distance between the countertop and the cabinet top.

A 165-foot green-beam laser distance measure designed for fast indoor and jobsite measurements. The bright green laser improves visibility compared with standard red beams, while the color display keeps readings easy to check. It supports straightforward distance measuring in a compact handheld format and provides a longer working range than the Bosch GLM100-23 it replaces.
Check On AmazonIf you click this link and buy, we earn a commission at no additional cost to you.
Calculate usable width without creating an unloading routine
Width becomes more complicated when one garage is intended to hold several appliances. Add the stored widths, then add only the side access and movement each appliance actually needs rather than applying the same generic gap everywhere. More importantly, check whether one machine can be used without moving another machine onto the counter first. If the coffee maker can be refilled only after the blender is removed, the combined width technically stores both products but does not support the routine that justified the garage.
For a multi-appliance station, map the most frequently used item to the easiest reach and give moving parts a clear path. Less-used equipment can occupy the position that requires more setup, but it should not block the daily appliance simply because the boxes fit side by side. This is where a slightly wider opening can be valuable, yet extra width is not automatically better if it consumes needed prep counter or forces larger doors. The right width is the smallest finished interior that lets the intended appliances operate without repetitive unloading, collision, or awkward hand access.
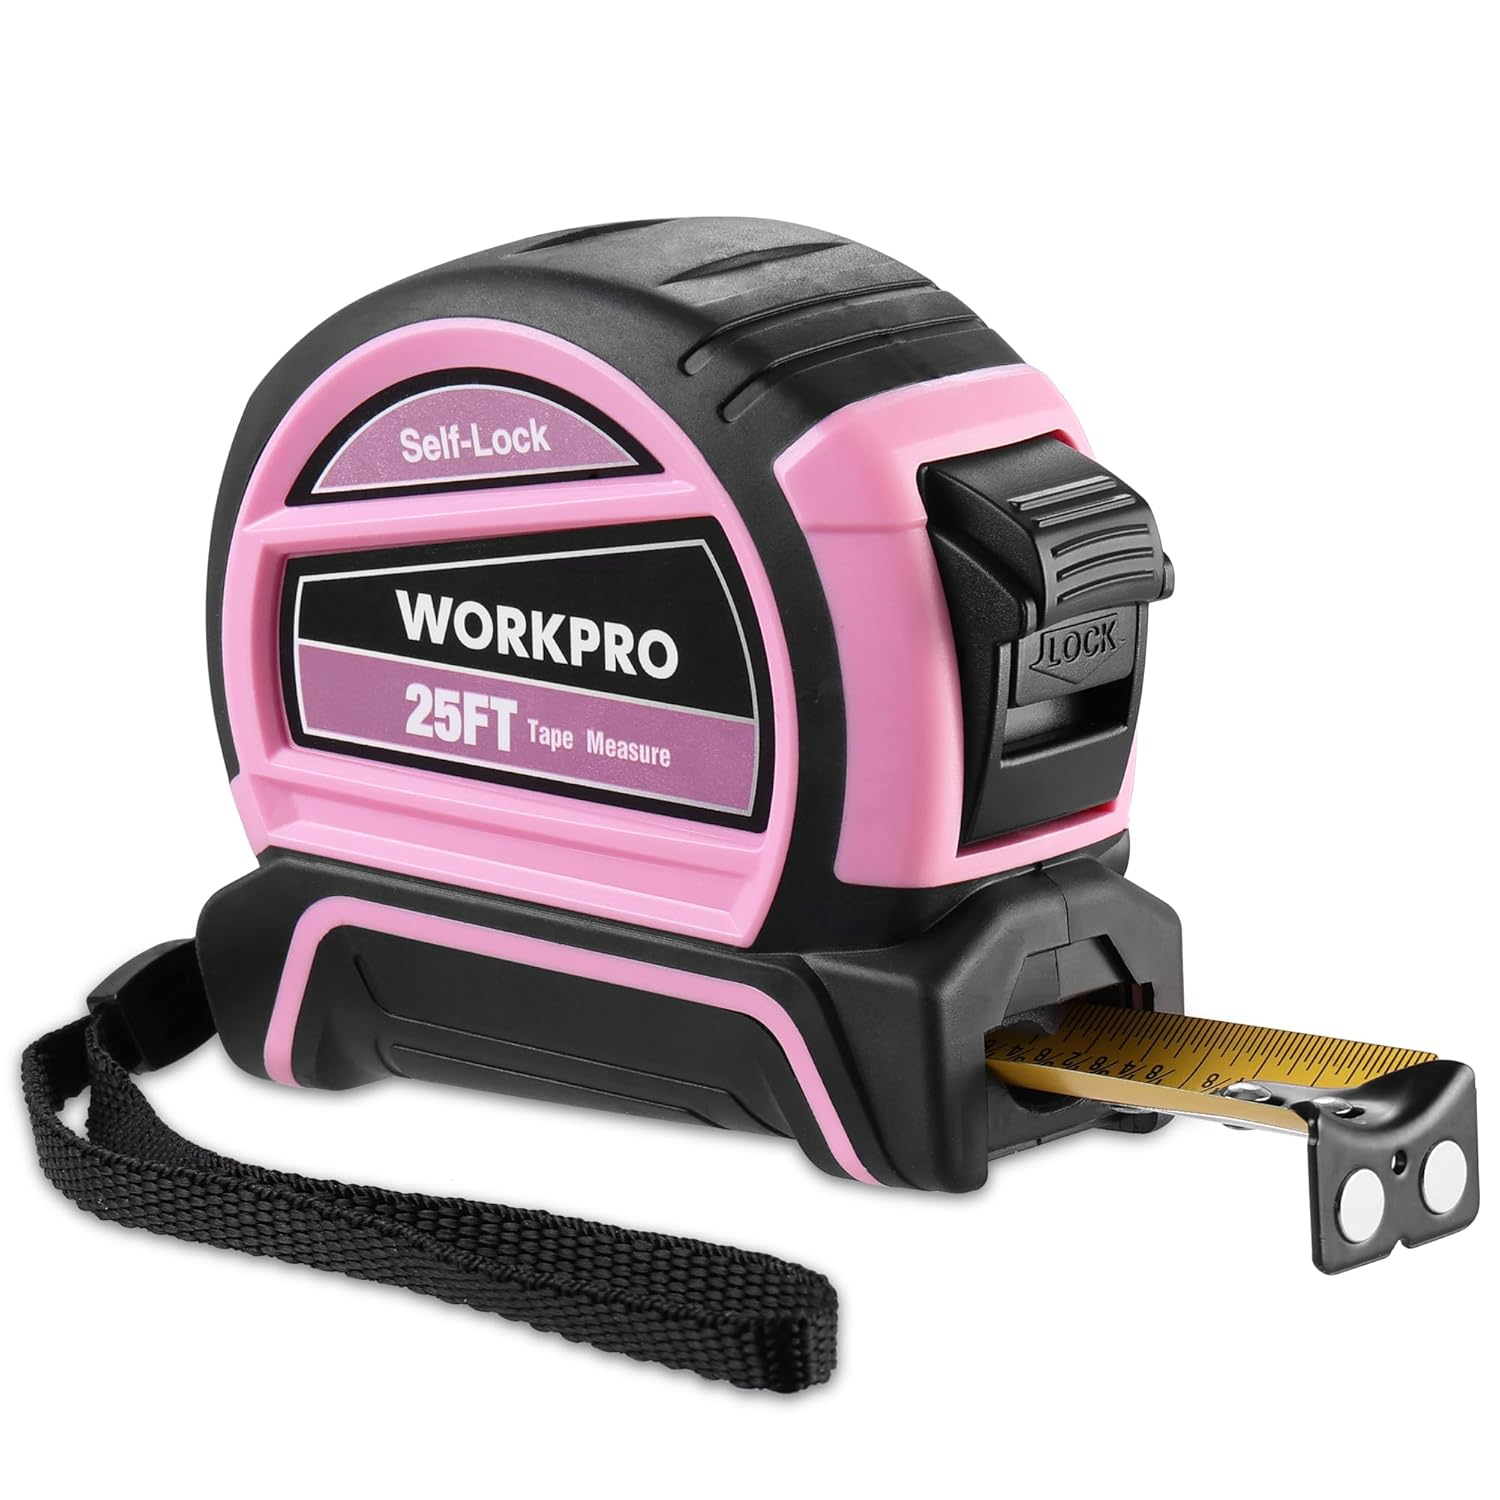
This 25-foot retractable tape measure has 1/8-inch fraction markings, 1/32-inch accuracy, a magnetic hook, and a belt clip. Its long blade makes it straightforward to check the finished interior width across a multi-appliance opening. Measure the actual side access and movement each appliance needs so the combined station can operate without unloading another machine first.
Check On AmazonIf you click this link and buy, we earn a commission at no additional cost to you.
Add the front operating and landing zone
The space in front of an appliance garage is part of the measurement problem whenever the appliance slides forward, a door opens toward the user, or food and liquid need a safe place to land. Mark how far the appliance travels beyond the cabinet face and where the user stands during that movement. Then mark the counter area needed to set down a bowl, carafe, blender jar, tray, or removable reservoir. A design that consumes every inch in front of the garage may leave no practical place to handle the very items the appliances produce.
This front zone also needs to coexist with the kitchen aisle and nearby tasks. A pullout or extended appliance should not surprise someone walking past, and an open cabinet front should not take over the only useful prep area beside the sink or range. If the proposed garage is already competing with too many tasks, review appliance garage layout ideas before making the enclosure larger by default. Sometimes moving the station is a better dimensional fix than making one cabinet swallow more of the counter.

This 0.94-inch-wide ScotchBlue painter's tape comes on a 60-yard roll and is designed for multiple surfaces. It can mark a temporary edge on the counter for appliance travel, an open door, or a landing zone without turning the mark into a permanent layout line. That makes the front operating area easier to visualize while checking nearby aisle and prep-space conflicts.
Check On AmazonIf you click this link and buy, we earn a commission at no additional cost to you.
Keep door travel out of the appliance and aisle envelope
Record the door closed, fully open, and in any useful intermediate position. Side-hinged fronts occupy swing space, lift fronts need an overhead path, and pocket systems move fronts into side pockets. Blum’s REVEGO documentation confirms that pocket hardware occupies cabinet volume. Reserve that space before assigning the remaining width and depth to appliances.
This article covers measurement logic, not mechanism selection. After defining the appliance envelope, compare appliance garage door styles by movement and hardware location. Bring the chosen system’s technical data back into the worksheet and recalculate usable dimensions. Door travel must clear the appliance, hands, neighboring fronts, and active aisle.
| Door-system check | Possible intrusion to record | Dimension affected |
|---|---|---|
| Side-hinged | Hinge body and door swing | Width, aisle |
| Lift | Mechanism and upward travel | Height, overhead space |
| Side pocket, tracks, components | Width, sometimes depth | |
| Any system | Handles, stops, brackets | Reduced usable dimension |
Use this table after the actual mechanism is selected and current technical information is available. The labels show where to look, not how much space every system needs. Enter the real intrusion, then recalculate the finished opening. This prevents door hardware from consuming space already assigned to the appliance.

The 935DAG measures 0 to 90 degrees and 0 to 180 degrees and can also work as a digital level. Its display auto-rotates, and the magnetic base supports hands-free positioning on ferromagnetic surfaces. Use it to record real door or lift angles while checking that the hardware path stays clear of appliances, hands, neighboring fronts, and the aisle.
Check On AmazonIf you click this link and buy, we earn a commission at no additional cost to you.
Add cleaning access before calling the fit complete
An appliance garage is not finished dimensionally when the equipment can operate once. It also needs enough access for crumbs, drip trays, water reservoirs, bowls, jars, and the cabinet surface itself to be cleaned without dismantling the whole station. Simulate the normal wipe-down first, then simulate a deeper clean in which removable parts come all the way out. If a tray can slide only partway before hitting the door track, the cabinet has created a maintenance obstruction even though the appliance body fits.
Wet appliances deserve special attention because spills often occur while a reservoir or carafe is being carried rather than while the machine is sitting still. Leave a direct removal path that does not require tipping a full container around another appliance. For crumb-producing appliances, check whether the crumb tray can be removed and whether debris can be reached at the back corners of the garage. A few minutes spent measuring the cleaning path can prevent a storage solution from turning routine maintenance into a reason to stop using the space as intended.

The Holikme Bottle Brush Cleaning Set includes long-handle brushes for narrow bottles, sports bottles, straws, tubes, and small spouts. Its 16-inch bottle brush reaches deep containers, while the sponge and firmer-bristle brushes cover different bottle shapes and cleaning needs. The smaller straw and spout brushes handle narrow openings and other areas that a standard bottle brush cannot easily reach.
Check On AmazonIf you click this link and buy, we earn a commission at no additional cost to you.
Add replacement tolerance instead of fitting one product forever
Cabinetry can outlast the countertop appliance it was designed around, so a zero-tolerance fit can create a replacement problem. After the current operating envelope is confirmed, decide how much flexibility is useful for a future model that may differ in width, depth, or height. That tolerance is a design choice, not a universal number. A household committed to one format may accept a tighter fit, while a long-lived station may benefit from more adaptable space.
Flexibility can also come from adjustable shelves or removable dividers that do not interfere with support, hardware, or safe operation. Test whether a plausible replacement could reach the outlet, clear the door system, move through normal positions, and preserve landing space. If not, record the limitation instead of assuming the cabinet is future-proof. Replacement tolerance should protect choice without weakening the requirements of the appliance used now.
- Keep the current model and operating envelope as the minimum.
- Identify whether width, depth, height, or movement is the likely constraint.
- Use adjustable interior elements only where they preserve support and access.
- Never trade away manufacturer-required clearance for replacement flexibility.
- Record intentionally tight dimensions for future purchase checks.
The checklist is about useful flexibility, not making the garage as large as possible. Extra volume still costs cabinet space and can affect door span or surrounding storage. Add tolerance where it protects a likely replacement decision and skip empty space that solves no expected problem. The final requirement should remain tied to real appliance types and routines.

These 3-by-3-inch Super Sticky Notes come in six pads with 70 sheets per pad. The notes are rated for twice the sticking power of standard Post-it Notes. Use them to flag intentionally tight width, depth, height, outlet, or movement limits on the requirement sheet so those constraints stay visible when a future replacement appliance is considered.
Check On AmazonIf you click this link and buy, we earn a commission at no additional cost to you.
Separate cabinet dimensions from appliance clearances
Cabinet dimensions describe the enclosure; appliance clearances describe what an exact product requires around itself during operation. Those are not interchangeable numbers. The BOV900 manual, for example, gives operating space requirements for that specific oven, while another appliance can use entirely different instructions or may not be intended to operate in an enclosure at all. Never convert one manufacturer’s side or overhead requirement into a generic rule for every appliance garage.
When the manual, product page, or support information is unclear, stop at that evidence boundary instead of guessing. The safer planning move is to treat the uncertain appliance as storage-only until its operating requirements are confirmed, or to plan a routine that moves it to an appropriate open counter position before use. Electrical placement, ventilation engineering, structural cabinetry, and modifications to manufacturer safety requirements are outside this measurement worksheet. Damaged cords, overheating, sparks, smoke, burning odors, leaking into electrical areas, or any condition the manual reserves for service personnel should be handled according to the exact product instructions and qualified service guidance.

This pack contains 12 black Sharpie permanent markers with fine tips. The quick-drying ink is designed to mark paper, plastic, metal, and other common surfaces while resisting fading and water. Use the marker on the planning worksheet or durable labels to keep model-specific clearance notes distinct from cabinet dimensions and avoid turning one appliance's requirements into a generic rule.
Check On AmazonIf you click this link and buy, we earn a commission at no additional cost to you.
Build a requirement sheet for the cabinet designer or installer
The final output should list usable dimensions and operating conditions, not DIY construction instructions. Record the exact model, stored size, relevant weight, maximum operating dimensions, plug and cord projection, moving parts, cleaning path, and any manual-stated clearance. When two appliances meet the same household need, compare their full operating envelopes before using listing dimensions as the tie-breaker. Add the chosen door-system intrusion, front movement, and landing zone needed while the garage is open.
Give the requirement profile to the cabinet or hardware professional and confirm that the finished interior preserves those measurements. This separates household needs from structural, electrical, and installation work. When drawings return, verify that the appliance envelope still fits after backs, hardware, and doors are included. That is stronger than choosing a generic garage size and hoping the routine works.
| Worksheet field | Appliance 1 | Appliance 2 | Station requirement |
|---|---|---|---|
| Exact model | Enter | Enter | Keep both |
| Stored W × D × H | Enter | Enter | Planned arrangement |
| Operating width | Enter | Enter | Combined usable width |
| Operating depth | Enter | Enter | Include forward travel |
| Operating height | Enter | Enter | Tallest position |
| Plug and cord | Enter | Enter | Reserve rear projection |
| Hardware intrusion | Note | Note | Subtract actual intrusion |
| Cleaning path | Note | Note | Keep paths clear |
| Manufacturer clearance | Exact requirement | Exact requirement | Keep model-specific |
| Front landing zone | Enter | Enter | Preserve needed area |
| Replacement tolerance | Enter | Enter | Add after current fit |
Before approval, run the routine once more from opening through cleanup and closing. Check that no step requires unloading unrelated equipment, pinching a cord, or handling hot or wet items without a landing spot. If the worksheet passes that sequence, the dimensions support the routine. The project can then move to professional cabinetry specification.

This two-pack provides quad-ruled 8.5-by-11.75-inch graph pads with 100 perforated sheets per pad and sturdy backs. The grid is well suited to laying out stored dimensions, operating dimensions, hardware intrusion, and front-zone notes in a consistent requirement sheet. Use separate rows for each appliance, then carry the combined station requirements to the cabinet designer or installer.
Check On AmazonIf you click this link and buy, we earn a commission at no additional cost to you.
Final thoughts: size the garage around the appliance in motion
A useful appliance garage is sized around the exact appliance body, its operating envelope, cabinet hardware, and the room a person needs to use and clean it. That is why a universal width, depth, or height chart should not control the finished cabinet. Exact manuals and specifications take priority when an appliance has operating-clearance or support requirements. The worksheet should keep those model-specific limits visible instead of hiding them inside one generic allowance.
Measure the appliance at rest and in motion, subtract real cabinet intrusions, and add the human and replacement space the routine needs. If an appliance must move forward to operate, make that movement part of the plan. If the enclosure cannot preserve the exact appliance requirements, change the location, mechanism, appliance plan, or routine before cabinetry is finalized. The best dimension is the smallest usable envelope that supports the full routine without compromising the product instructions.

This value pack combines a 7-inch Speed Square with a 6-inch combination square and includes a built-in level vial on the combination square. The sliding square format supports small depth and alignment checks around cabinet faces, shelves, and hardware. It complements the final fit review by helping cross-check clear dimensions and alignment after real cabinet intrusions have been subtracted from the appliance envelope.
Check On AmazonIf you click this link and buy, we earn a commission at no additional cost to you.
FAQs
📏 Is there a standard appliance garage size?
No single size works for every appliance, door system, and routine. Start with the exact appliance models, then calculate usable width, depth, height, hardware intrusion, and front operating space.
☕ How much height should I allow above a coffee maker?
Measure the exact machine with its reservoir, hopper, lid, and filter access in their full refill or removal positions. Use the manufacturer instructions for any operating-clearance requirement instead of applying a generic extra-height rule.
🔌 Does the plug count toward appliance garage depth?
Yes, if the plug and cord project into the usable interior. Measure the real outlet, plug orientation, cord exit, and bend rather than assuming the cord disappears behind the appliance.
🚪 Do pocket or lift doors reduce usable space?
They can, depending on the exact mechanism and cabinet design. Use the current hardware specifications to identify side, overhead, or internal space that must be reserved before calculating the appliance opening.
🧹 Should cleaning access be included in the dimensions?
Yes. The appliance should allow normal removal of trays, bowls, jars, reservoirs, and other routinely cleaned parts without unloading the entire cabinet.
♻️ How much extra room should I leave for a future replacement?
There is no universal replacement allowance. Choose a deliberate tolerance based on the appliance type and likely future variation, but never use that flexibility to reduce the exact current model’s required operating clearance.
References and sources
- Breville BOV900 product specifications: verifies the listed exterior dimensions used in the countertop-oven example.
- Breville BOV900 instruction manual: verifies the model-specific side and overhead operating-space requirements and safety boundaries.
- KitchenAid stand mixer storage guidance: supports the storage, support, pullout-clearance, and access considerations discussed for mixers.
- Blum AVENTOS HL top product data: verifies that lift hardware has its own application range and motion that must be included in cabinet planning.
- Blum REVEGO pocket system: verifies that pocket-system hardware is integrated into side pockets that consume cabinetry space.