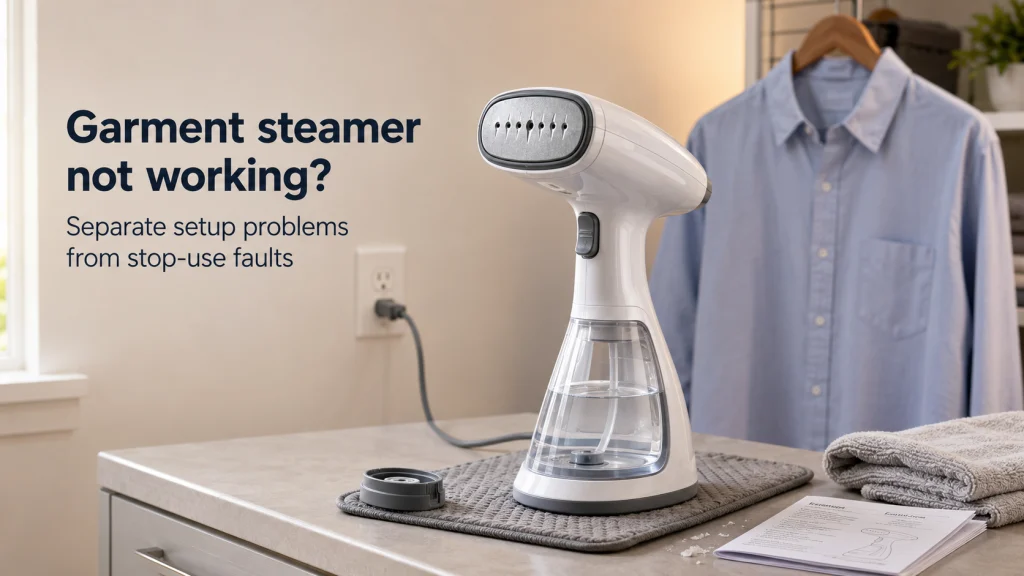
A garment steamer that suddenly stops steaming is not automatically clogged or broken. The safest first move is to identify whether the symptom is no steam, clear dripping, residue or staining, or abnormal electrical or heat behavior, because each points to a different next step. Most owner-level checks stay simple: confirm water level, tank seating, ready state, and any documented priming or maintenance behavior for the product. Stop troubleshooting and move to support or qualified service when the problem involves a damaged cord, sparking, burning odor, severe overheating, electrical leakage, or another listed stop-use condition.
Start with the symptom, not the fix
If your garment steamer is not working, do not start by adding vinegar, poking at steam holes, or assuming scale is the cause. Separate the symptom first: no steam, intermittent steam, clear water droplets, white flakes, brown spotting, unusual noise, abnormal heat, or an electrical sign. Those symptoms can overlap, but they do not justify the same response. A steamer that simply has an empty or poorly seated tank belongs on a very different troubleshooting path from one that smells burned or leaks into an electrical area.
This article stays with owner-level troubleshooting and focuses on checks documented for ordinary use. It does not cover opening housings, testing live electrical parts, forcing internal pump passages, or bypassing thermal and safety devices. If the appliance begins working after a basic setup check, return to the normal operating routine in how to use a garment steamer rather than continuing to troubleshoot a problem that is no longer present. If the symptom points toward scale or residue, the next branch is routine maintenance, not improvised repair. Troubleshooting other garment care products follows the same principle: identify the symptom first, then stay within documented owner-level checks.
| If this is the symptom | Then do this first | Outcome or next branch |
|---|---|---|
| Burning odor, sparks, cord or plug damage, severe overheating, or water entering an electrical area | Stop functional testing. Switch off and unplug when it is safe to do so. | Do not resume use if the visible sign disappears. Move directly to manufacturer support or qualified service. |
| No steam or weak steam, with no stop-use sign | Check power state, ready indication, water level, and tank seating. | If steam returns, the outcome is resolved. If not, follow only the documented priming, standby, hose, or maintenance branch that fits the symptom. |
| Clear dripping or spitting, with no electrical-area leak | Separate startup condensation from tank, stopper, valve, orientation, or repeated leakage. | If documented startup condensation stops normally, resume use. If leaking persists, comes from the body or base, or reaches an electrical area, move to support or stop use. |
| White flakes, brown marks, or gradually weaker steam | Check water history, additives, scale status, and the product’s permitted maintenance method. | If permitted maintenance restores normal output, return to use. If no permitted method fits or the symptom remains, move to support rather than escalating chemicals or disassembly. |
Read the table as an if-then decision tree, not as a diagnosis. Start with the first row that matches what the steamer is actually doing, follow that branch once, and stop when it reaches an outcome. Product design can change the middle step because tank systems, pumps, hoses, anti-calc features, and controls are not universal. The point of the tree is to prevent a simple setup problem from drifting into unnecessary cleaning or internal repair.

This handheld garment steamer uses 1875 watts and has a 7.3-ounce water tank. The GS59X is a portable white and champagne model for garment steaming. It is rated for up to 15 minutes of steaming.
Check On AmazonIf you click this link and buy, we earn a commission at no additional cost to you.
Identify the exact model and symptom before attempting a fix
Before changing anything, read the model number from the appliance label and find the matching product documentation. A handheld steamer and a standing steamer can fail to steam for different reasons even when the symptom sounds identical. One design may require the unit to stay upright, while another may support a different operating angle or have a hose that can collect condensation. That documentation also tells you what the ready light, standby state, trigger behavior, tank lock, and maintenance system actually mean.
Describe the symptom as narrowly as you can instead of using the broad word “broken.” Note whether the unit heats but produces no steam, produces steam only intermittently, drips clear water, spits particles, stains fabric, makes a new sound, or becomes abnormally hot. Also note what changed before the problem appeared, such as refilling the tank, switching water type, storing the unit, cleaning it, or using an additive. These observations are useful because they separate a repeatable setup issue from a maintenance clue or a stop-use condition without pretending to diagnose an internal component. That sequence matters.
This handheld garment steamer uses 1200 watts and a large detachable water tank. It has an aluminum heating plate and a portable white design. The listing specifies 120V-only operation.
Check On AmazonIf you click this link and buy, we earn a commission at no additional cost to you.
For no steam, check power, ready state, water level, and tank seating
A garment steamer with no steam often deserves the boring checks first. Confirm that the appliance is connected, switched on normally, and has reached its ready state rather than guessing from warmth alone. Check that the tank contains enough permitted water for normal operation and that it is seated fully in the body or base. Manufacturers such as Philips and Rowenta list low water and incorrect tank positioning among common causes of no-steam complaints, which is why these checks come before descaling or repair.
Do not keep cycling the power or holding controls indefinitely when that behavior is not part of normal operation. If reseating the tank or correcting the ready state restores normal steam, the problem was likely operational rather than evidence of an internal failure. If the tank will not seat, a stopper will not close, or a latch appears damaged, stop forcing it and verify the correct part or service route. A part that looks almost right can still be wrong, so compatibility should be checked by model or part number rather than appearance.
- Confirm the normal ready indication for your model.
- Check that the appliance is powered and switched on normally.
- Verify that the water level is adequate and the water type is permitted.
- Remove and reseat the tank only when it is a user-removable part.
- Stop if the tank, valve, latch, cord, plug, or housing appears damaged.
If those checks do not restore steam, the next question is whether the model has a documented priming or standby behavior. That is a more specific branch than simply pressing every button until something happens. Use the documented sequence for that control system because similar-looking controls can behave differently across products. Once the setup path is exhausted, move toward maintenance or support rather than improvising a new one.

This handheld garment steamer has a 240 ml water tank and 700-watt power rating. It includes a fabric brush and is designed for portable garment care. The blue model is specified for 120V operation only.
Check On AmazonIf you click this link and buy, we earn a commission at no additional cost to you.
Check documented priming or standby behavior without inventing button sequences
Some steamers use a pump that may need a documented priming action before steam becomes steady, while others enter standby and need to be brought back to a ready state. Rowenta support, for example, lists an unprimed pump and standby mode among possible no-steam causes on some models. Philips support also documents model-specific startup and standby behavior for certain units. That does not create a universal priming sequence, because the trigger pattern, indicators, and timing belong to the exact design.
Use the documented control sequence and stop once the specified action has been completed. If the steamer remains silent or produces no steam after that attempt, repeated button pressing is not a substitute for evidence. A pump sound can also be normal on some handheld designs, so sound alone should not be treated as proof of a failing pump. If the sound becomes unusual or the normal sequence no longer produces the expected result, support is the safer next step.

This compact travel garment steamer combines steaming and ironing in one handheld unit. It supports 100-220V operation, has a 5-ounce water tank, and heats in about 15 seconds. The K1 also includes an LED display, automatic shutoff, and up to about 10 minutes of operation at maximum steam output.
Check On AmazonIf you click this link and buy, we earn a commission at no additional cost to you.
For standing steamers, check hose orientation only when the design supports it
Standing steamers add a hose to the steam path, and that creates a symptom that handheld-only advice can miss. Philips documents that condensation in the hose of some standing models can interrupt steam when the hose is held in a position that lets water collect. The remedy depends on the geometry of those models, not on a rule that every steamer must be held the same way. If the product documentation identifies hose condensation as a cause, follow the specified orientation and handling steps and see whether normal flow returns.
Do not shake, whip, squeeze, bend sharply, or disconnect a hot hose in an attempt to “clear” it. Steam and hot condensate can burn, and a hose may also contain fittings that are not intended for user disassembly. If the hose is visibly damaged, kinked in a way that does not recover, or leaking at a connection, stop and contact the manufacturer. For routine positioning technique after the problem is resolved, use the model-specific workflow in the site’s garment steamer use instructions rather than turning troubleshooting into a permanent workaround.

This full-size garment steamer uses 1800 watts and has a removable 3-liter water tank. The tank is rated for more than 90 minutes of continuous steam, making the unit suitable for longer garment-care sessions. It also includes foot-pedal power control, a multifunctional hanger, rolling wheels, and a telescopic aluminum support bar.
Check On AmazonIf you click this link and buy, we earn a commission at no additional cost to you.
If clear water drips or spits, separate startup condensation from repeated leakage
Garment steamer leaking water can describe several different situations, and the location matters. A few clear droplets from the steam head at startup may be condensation on a model whose manufacturer documents that behavior, while water escaping around the tank, stopper, valve, base, or electrical housing is a different problem. Philips notes that retained condensation can cause droplets at the beginning of a session on some models, and Rowenta lists poor tank seating or an improperly closed stopper as possible leak causes. Those examples support checking the water path and tank fit before blaming scale.
Repeated leaking after the appliance is fully ready deserves more caution, especially when the source is not clearly the steam outlet. If the tank is user-removable, reseat it normally, confirm any user-operated stopper or valve is closed, and keep the appliance in its permitted operating position. Do not keep steaming over clothing to see whether a leak “settles down” if water is appearing near the cord, controls, seams around electrical areas, or the base in an abnormal way. Persistent leakage belongs with support because the safe boundary is determined by where the water is escaping, not by how small the puddle looks.

This handheld steamer is rated at 1100 watts with a 300 ml water tank. Its listing specifies a no-leak design and about a 30-second heat-up. The compact white model is designed for 120V operation.
Check On AmazonIf you click this link and buy, we earn a commission at no additional cost to you.
Treat white flakes, brown spots, and weak steam as maintenance clues before assuming a fault
White flakes, brown spotting, and gradually weaker steam can point toward scale or residue, but the symptom still does not prove that the appliance needs a homemade acid flush. Philips support links scale with weaker steam and dripping on certain models, while Rowenta directs owners of affected products to their product-specific descaling instructions. The useful conclusion is not “use vinegar.” Maintenance becomes the next branch only when the steamer has a permitted cleaning, rinsing, anti-calc, or descaling procedure. That distinction matters.
Look at both the output and the water history. Clear droplets with no residue suggest a different path from white mineral particles, while brown marks may involve deposits, additives, or contaminated water rather than an electrical failure. If the product includes a maintenance cycle, follow its stated preparation and procedure; if it does not, do not borrow one from another brand. The article on how to clean a garment steamer covers the maintenance branch in more depth once troubleshooting points there.
| What you see | What it can suggest | What to verify next |
|---|---|---|
| Clear droplets | Condensation, tank fit, orientation, or a leak | Model support for startup droplets and the exact leak location |
| White flakes | Mineral scale or deposits | Approved anti-calc, rinse, or descaling procedure |
| Brown spots or residue | Deposits, unsuitable water, or additives | Water history and manufacturer recovery guidance |
| Weak steam without visible residue | Setup, standby, priming, water supply, or scale | Basic no-steam checks before maintenance |
This differentiator keeps maintenance in its proper place. Scale is one plausible cause, not a universal explanation for every steamer that stops producing steam. If an approved maintenance step restores performance, return to normal use and watch for recurrence. If it does not, the remaining branch is support or service, not increasingly aggressive home cleaning.

This kit includes 150 strips for testing total water hardness. Its color chart covers a 0 to 425 ppm hardness range and is designed for quick home water checks. The strips test calcium and magnesium-related hardness without adding anything to the appliance.
Check On AmazonIf you click this link and buy, we earn a commission at no additional cost to you.
If additives or unsupported water were used, follow recovery guidance instead of adding more chemicals
Scented water, starch, vinegar, descaling agents, ironing aids, and other additives can create their own troubleshooting problem when the manufacturer does not permit them. Philips warns that unsupported liquids can contribute to spitting, brown staining, or damage, while Rowenta support similarly warns against certain additives and descaling chemicals in the tank. If you know something unsupported was added, do not try to neutralize it with another chemical. More chemistry can make the evidence harder to interpret and may create residue the appliance was never designed to handle.
Check the water requirement and recovery instructions for your steamer, then contact support if the documentation does not explain what to do after an unsupported liquid has been used. The site’s discussion of what water to use in a garment steamer explains why manufacturer rules differ and why tap, distilled, demineralized, filtered, and scented water should not be treated as interchangeable. If staining or spitting began soon after the water type changed, that history is worth reporting. Do not keep adding a cleaner until the output looks clear, because the tank and internal steam path may have materials or treatments that require a specific method.

This kit includes 100 multi-parameter water test strips plus two bacteria test kits. The strips test hardness along with lead, iron, copper, chlorine, fluoride, and other water characteristics. It is designed for household drinking, tap, well, and city water testing.
Check On AmazonIf you click this link and buy, we earn a commission at no additional cost to you.
Separate fabric-side water spots from appliance-side electrical leaks
Wet spots on a shirt can be annoying without meaning that water has reached an electrical compartment. A few droplets exiting the steam head are a fabric-side symptom, and manufacturers may connect that behavior to condensation, scale, water choice, or model-specific use conditions. Water appearing from the body, controls, power-entry area, plug, cord connection, or an unexpected seam is different because the problem is no longer confined to the intended steam path. That distinction should decide whether you keep performing ordinary owner checks or stop using the appliance.
Do not wipe an electrical-area leak dry and continue testing the steamer. Switch it off, unplug it when that can be done safely, and keep it out of service until the manufacturer or qualified service provider has evaluated the condition. The same conservative approach applies if a breaker trips repeatedly while the steamer is operating or if there are signs of arcing, sparking, or heat damage at the cord or plug. Water and electricity are enough reason to stop at the evidence boundary rather than treating the next step as a cleaning experiment.

This garment-steaming mitt is designed as a heat-resistant backing surface for clothes. Its padded glove format helps keep the supporting hand separated from normal steam and heat during garment steaming. It is a dedicated steaming accessory rather than an appliance repair tool.
Check On AmazonIf you click this link and buy, we earn a commission at no additional cost to you.
Stop use for cord damage, burning odor, sparks, severe overheating, or abnormal electrical behavior
Some symptoms are not troubleshooting invitations. A damaged cord or plug, visible wiring, sparks, smoke, a burning odor, severe or spreading overheating, repeated electrical tripping, or water entering an electrical area should end the owner-check sequence. Rowenta explicitly advises against using a garment steamer with a damaged power cable on its support pages, and general CPSC electrical guidance also treats damaged insulation, smoking, sparking, and an overheating plug as stop-use conditions. The correct goal here is not to get one more steaming session out of the appliance.
Turn the unit off and unplug it when that can be done safely without touching a wet, damaged, smoking, or dangerously hot connection. Do not tape a damaged cord, bend exposed prongs back into place, keep resetting a tripped circuit, or test whether the smell returns. Contact the manufacturer for the model-specific service route, or use qualified electrical or appliance service when appropriate. Replacement can be the rational outcome when the repair is unavailable, unsafe, or economically poor, which is a separate buying decision from troubleshooting.
Warning: Stop using the steamer if you see cord or plug damage, exposed wiring, sparks, smoke, a burning odor, severe overheating, repeated electrical tripping, or water where electrical parts may be involved. Do not continue functional testing to “confirm” the fault.
A warning sign does not need to become dramatic before it counts. The safe threshold is evidence of an electrical or heat abnormality that ordinary setup cannot explain. Once that threshold is crossed, the useful information is the model number, symptom, and support history, not another home fix. Keep those details ready when contacting the manufacturer or service provider.

This portable garment steamer uses 1000 watts and heats in about 30 seconds. The foldable handheld design is intended for compact storage and travel. The white model is specified for 120V use only.
Check On AmazonIf you click this link and buy, we earn a commission at no additional cost to you.
Do not open housings, probe steam passages, or bypass safety devices
When a steamer still will not produce steam after owner-level checks, the temptation is to push a pin into the outlet, open the case, or look for a blocked pump. That crosses from troubleshooting into internal repair. Steam appliances combine heat, pressure within the steam path, water, seals, insulation, wiring, thermal protection, and model-specific assembly, so a casual teardown can introduce hazards that were not present before. It can also destroy the evidence a manufacturer needs to evaluate a defect or warranty claim.
Stay with user-accessible actions documented for the product, such as tank handling, exterior wiping, a permitted rinse or anti-calc cycle, or a part specifically identified for removal. Do not defeat a thermal cutoff, hold a safety switch closed, energize the appliance while opened, probe internal wiring, or force a tool into a steam passage. If the documented procedure ends with “contact support,” that is the end of the owner-level procedure even if a video elsewhere shows a deeper repair. The fact that a component can physically be reached does not make it an owner-serviceable component.
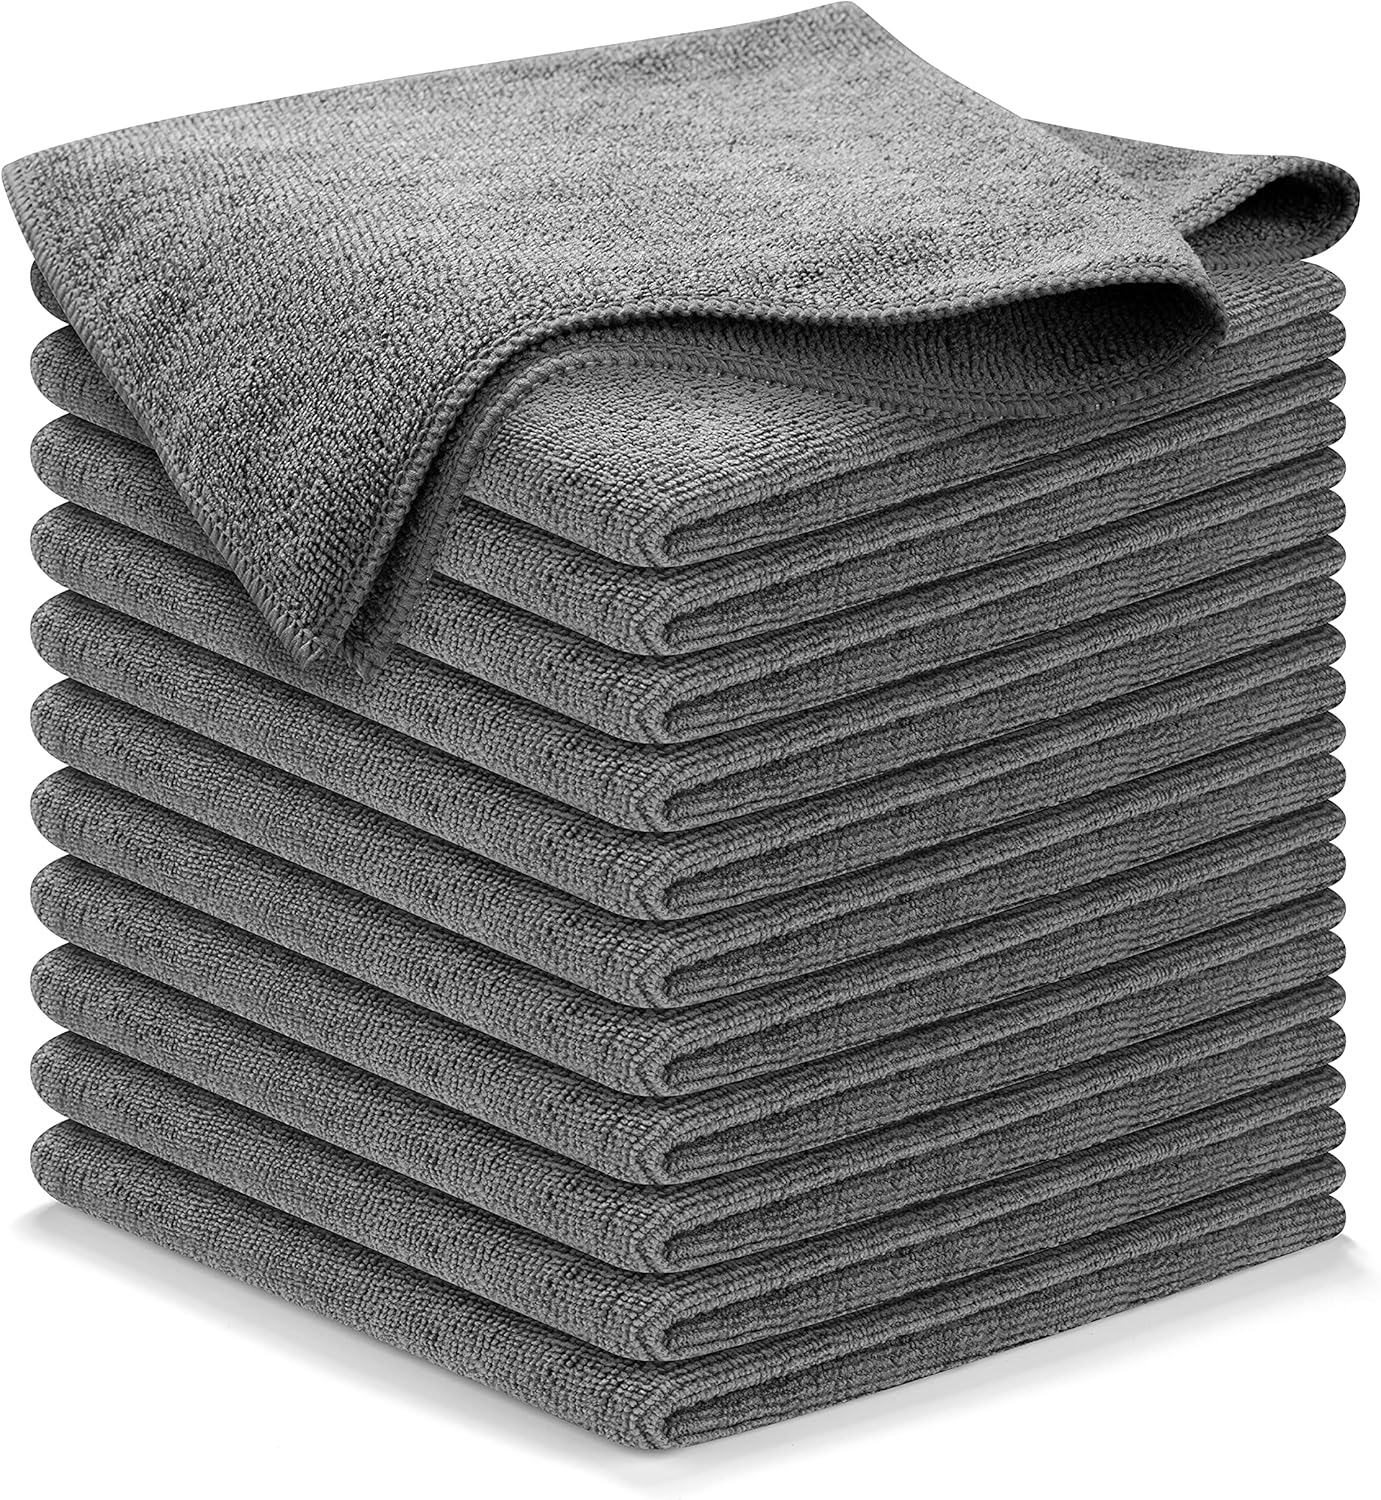
This pack includes 12 gray microfiber cleaning cloths measuring 12.5 by 12.5 inches each. The towels use an absorbent microfiber weave for grime and liquid cleanup. They are reusable and marketed for streak-free surface cleaning.
Check On AmazonIf you click this link and buy, we earn a commission at no additional cost to you.
End with one of four outcomes: resolved, maintain, support, or replace
Troubleshooting is easier when it has a stopping point. If a basic setup correction restores normal steam and there are no abnormal leaks, smells, noises, or heat signs, the issue is resolved and the steamer can return to normal use. If the symptom points clearly to scale or residue and the product has a permitted maintenance method, move to cleaning or descaling and stop treating it as a mystery fault. If safe checks do not resolve the symptom, or the documented procedure ends at support, contact the manufacturer rather than repeating the same steps.
Replacement or paid service is the final branch, and that decision should consider age, parts availability, service access, cost, and whether the same problem is recurring after approved maintenance. If you are deciding whether another steamer type would better fit your routine, the garment steamer buying guide can help separate capacity, portability, hose design, maintenance, and storage tradeoffs before you buy again. Do not let frustration turn troubleshooting into an excuse to buy a more expensive model without identifying what failed in the current routine. The best outcome is the one that ends the problem safely with the least unnecessary work and spending.

This full-size standing garment steamer uses 1500 watts and a 1.8-liter water tank. It is rated for up to 60 minutes of steaming. The system includes an adjustable pole and wheels for storage and movement.
Check On AmazonIf you click this link and buy, we earn a commission at no additional cost to you.
Final thoughts: troubleshoot from the symptom outward
A garment steamer that will not behave normally gives you more useful information through its symptom than through a generic “not working” label. Separate no steam from dripping, residue, and electrical or heat abnormalities, then follow the matching owner-level branch. Setup problems can often end with a simple correction, while scale-related symptoms belong with the product’s permitted maintenance path. Electrical damage, severe overheating, burning odor, sparking, abnormal leakage, or internal faults belong with support or qualified service.
The important stopping rule is simple: do not turn a safe troubleshooting sequence into an internal repair project. If the documented checks resolve the problem, stop troubleshooting and use the appliance normally. If maintenance is the correct branch, use the method specified for that steamer rather than a universal chemical recipe. If the symptom crosses the safety boundary or stays unresolved, preserve the model information and move to support, service, or replacement.

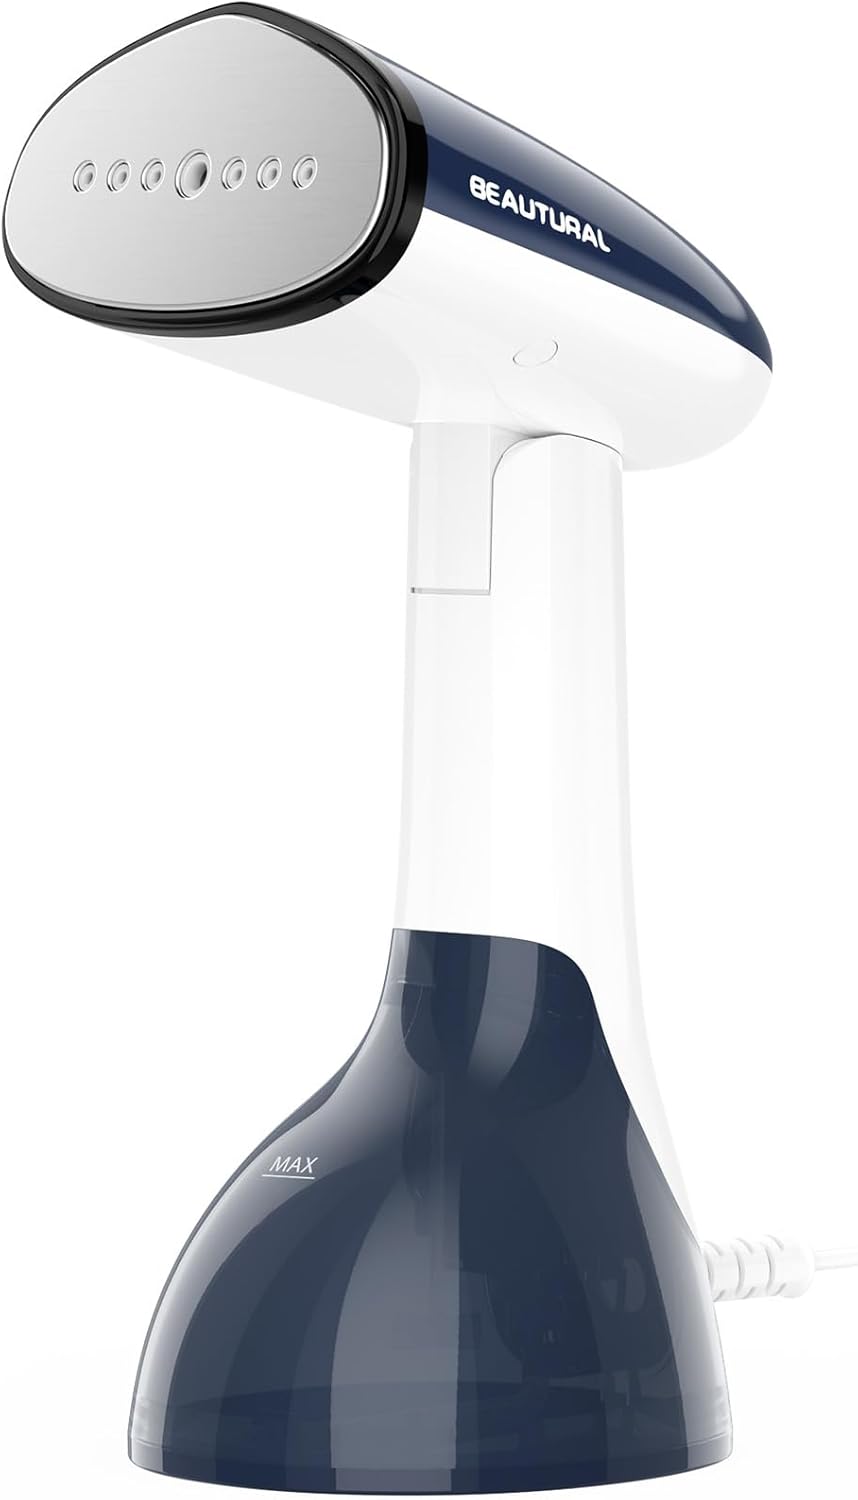
This 2-in-1 handheld steamer and iron is rated at 1200 watts. It uses a ceramic heating plate, reaches operating heat in about 30 seconds, and includes auto-off. The navy model is specified for 120V use only.
Check On AmazonIf you click this link and buy, we earn a commission at no additional cost to you.
FAQs
💨 Why is my garment steamer heating up but not producing steam?
Check the ready state, water level, tank seating, standby behavior, and any documented priming step for your model. If those owner checks do not restore steam, move to the relevant maintenance or support route instead of inventing a button sequence.
💧 Why is my garment steamer dripping clear water?
Some models can release startup condensation, while repeated leaking can come from tank seating, a stopper or valve, orientation, scale, or a fault. Identify where the water is coming from and stop use if it appears near electrical areas.
🟤 Why is my garment steamer spitting water or leaving brown spots?
Residue can be related to scale, unsuitable water, or unsupported additives on some models. Check the water history and use only the manufacturer’s approved cleaning or recovery procedure.
🧴 Can I put vinegar in a garment steamer that stopped working?
Not unless the product instructions explicitly permit it. Some manufacturers warn against vinegar and other descaling chemicals, so use the specified maintenance method instead.
🔌 When should I stop using a garment steamer immediately?
Stop for cord or plug damage, exposed wiring, sparks, smoke, burning odor, severe overheating, repeated electrical tripping, or water entering an electrical area. Unplug when safe and contact the manufacturer or qualified service provider.
References and sources
- Philips no-steam support: Supports checks for water level, tank seating, heat-up state, model-specific trigger behavior, hose condensation, and scale-related steam loss.
- Philips dripping support: Supports the distinction between retained condensation, scale-related dripping, and model-specific rinsing functions.
- Philips stain support: Supports checking water hardness, deposits, and model-specific stain recovery rather than assuming an internal fault.
- Philips water guidance: Supports warnings about unsupported additives and the need to follow product-specific water instructions.
- Rowenta garment steamer support: Supports checks for power, low water, priming, tank seating, standby, leaks, limescale, additives, and damaged power cables.
- CPSC home wiring hazards guidance: Supports stopping use for damaged appliance cords, smoking or sparking, and overheating plugs rather than attempting unsafe electrical repair.