A garment steamer works better when the garment is supported, the tank is filled according to the exact model, and the steamer is used in the position its manual allows. The basic workflow is simple, but water type, head contact, operating angle, attachments, priming, refilling, and post-use care can differ enough that one universal technique is a bad shortcut. The safest approach is to prepare the garment first, follow the model-specific instructions second, and change technique only within those limits. This article covers normal owner use after you have already confirmed that the garment itself is compatible with steaming.
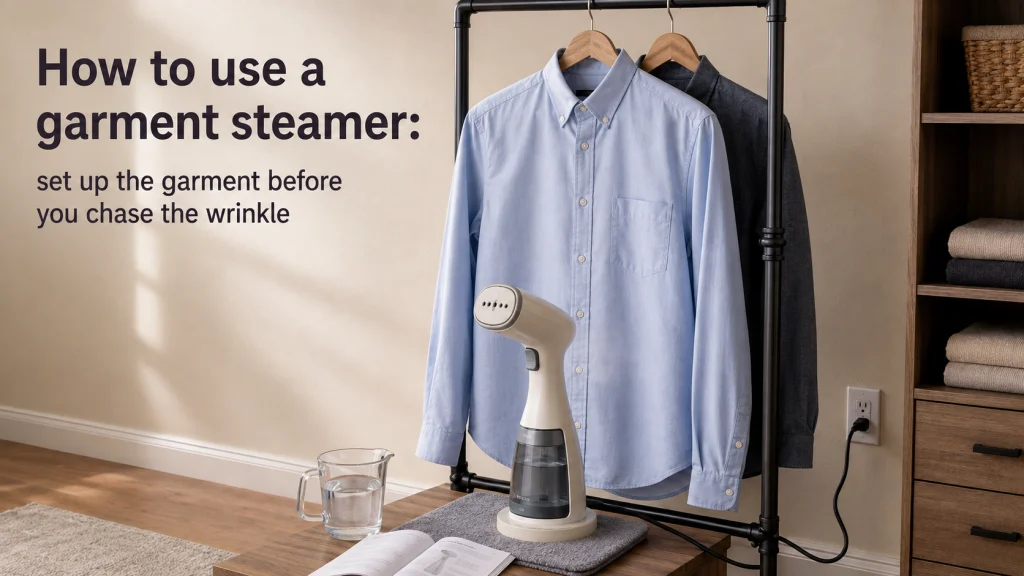
Read the garment label and exact steamer manual before filling the tank
Learning how to use a garment steamer starts before the first steam pass. A garment that swings freely, a badly seated tank, or an operating angle the model was not designed for can turn a simple wrinkle-removal job into dripping, sputtering, or wasted passes. Set up the garment, steamer, and working area before focusing on technique, then let the exact manual define the model-specific limits. The goal is controlled steam over supported fabric, not more force.
The care label and exact model manual answer different questions. The label helps establish whether steam suits the garment, while the manual defines filling, heating, holding, operation, and storage. Do not let general advice overrule either one, especially when a steamer has a heated plate, multiple modes, a hose, or alternate operating positions. Garment steamer instructions matter because similar-looking appliances can require different water, contact, priming, and orientation rules. This model-first routine is useful across garment care products, where similar-looking appliances can still have different operating limits.
- Prep: check the garment, manual, support point, cord path, tank, and attachments.
- Use: heat or prime as directed, support the fabric, and follow the model’s permitted contact and orientation.
- Cool: stop steaming, place the appliance where hot parts and residual steam cannot contact people or vulnerable surfaces, and let the garment dry.
- Reset: empty, rinse, clean, or descale only as the manufacturer directs before storage.
If the garment has not been cleared for steaming, start with what fabrics can be steamed safely. This page assumes that compatibility decision is already made, and internal repair, electrical work, or undocumented cleaning methods remain outside scope. Once those boundaries are clear, the useful workflow is simple: prepare, operate within the manual, cool, and reset. That sequence also makes a technique problem easier to separate from a real appliance fault.
Manufacturer guidance shows why the model-first distinction matters. Philips support for one handheld design allows direct plate contact, while other guidance may require distance, upright use, or a specific attachment. Water rules also vary, so a blanket instruction such as always using one water type can be wrong for another model. Use general technique only where the instruction is genuinely general.
| Usually reusable across steamers | Check on the exact model |
|---|---|
| Keep hot steam away from skin and other people | Whether the plate may touch fabric |
| Support the garment so it does not swing freely | Permitted vertical, angled, or horizontal positions |
| Do not overfill past the model’s marked limit | Approved water type and any water mixture |
| Let the appliance reach its indicated ready state | Priming procedure, attachments, refill method, and scale care |
Use the table as a boundary, not a replacement for the manual. The left column covers broadly reusable habits, while the right contains details that can change by design. When the two conflict, the exact manual wins. That model-first habit is better than applying one memorized routine to every steamer.

This portable handheld steamer has a 240 ml water capacity and a 700W rating. The listing specifies 120V operation only, so the power requirement is model-specific. It is listed for home and office wrinkle removal in a compact handheld format.
Check On AmazonIf you click this link and buy, we earn a commission at no additional cost to you.
Choose a stable support location and a clear steam path
A sturdy hanger is useful only if the thing supporting it is also stable. A loose over-door hook, a lightweight rack, or a chair that shifts under tension can make the garment move just as the steam head approaches it. Choose a support point that holds the garment at a comfortable working height and does not put the hot head close to your face, hands, children, pets, or passersby. The setup should also leave enough room to move the steamer without dragging the cord across the garment or catching it around furniture.
Finished surfaces deserve attention because steam carries heat and moisture beyond the fabric. Do not assume a painted door, wood cabinet, mirror frame, wall finish, or nearby electronic device is a harmless backdrop for repeated steaming. Keep the electrical path dry, use the outlet arrangement the appliance manual requires, and avoid routing the cord through a wet area. A good location gives the garment support while keeping heat, moisture, and the power connection out of one another’s way.

This 30-pack contains slim velvet non-slip suit hangers in black and silver. The velvet surface is designed to help garments stay on the hanger instead of sliding off. The slim profile provides a straightforward support option while a garment is being positioned for steaming.
Check On AmazonIf you click this link and buy, we earn a commission at no additional cost to you.
Fill only to the model limit with water the manufacturer permits
Water choice is not a generic steamer rule. Some manufacturers design particular models for tap water and then give a different recommendation for hard-water conditions, while other products may specify purified, demineralized, or another approved water type. Check the manual or support page for the exact model before filling, especially if you recently moved or know your local water leaves heavy mineral deposits. The separate explanation of tap water in a garment steamer is the better place to sort out that decision in detail.
The fill line matters just as much as the water type. More water is not automatically better because the tank and steam path are designed around a stated operating level, and overfilling can contribute to leaking or spitting on some designs. Do not add fragrance, vinegar, starch, ironing aids, essential oils, or homemade descaling mixtures to the tank unless the exact manufacturer documentation specifically allows them. Fill, close, and reinstall the tank in the way the model expects before power-on.

This clear Tritan measuring cup has a 2-ounce capacity and both standard and metric markings. Its angled surface lets measurements be read from above, with tablespoon and ounce markings designed for easy reading. It is dishwasher safe and BPA free.
Check On AmazonIf you click this link and buy, we earn a commission at no additional cost to you.
Seat the tank and attachments before power-on
A steamer can look assembled while one part is still not fully seated. Removable tanks need to lock or seal correctly, hoses need their proper connection, and any brush, spacer, fabric guard, or pressing attachment should be installed only in the position shown for that model. Check for obvious cracks, damaged seals, loose connections, a damaged cord, or anything that makes the appliance look different from normal. If a part does not fit without force, stop rather than improvising a workaround.
This quick inspection is also the right moment to decide whether an attachment actually belongs in the job. A brush or spacer can change head-to-fabric contact, while a pressing accessory can change the geometry around cuffs or collars. Do not install an accessory simply because it came in the box, and do not substitute one that merely looks compatible. Exact fit and intended use matter because the attachment becomes part of the steam path and handling method once the appliance is running.

This 1875W handheld steamer offers five steam settings and a built-in creaser. The listing includes a silicone band, fabric spacer, and bristle brush for different garment tasks. Those removable attachments make exact accessory fit and intended use important before power-on.
Check On AmazonIf you click this link and buy, we earn a commission at no additional cost to you.
Heat and prime according to the model
Wait for the steamer’s own ready signal rather than assuming a familiar heat-up period applies. Indicator behavior, pumping sounds, steam triggers, and first-use priming can vary even among handheld models that look similar. Some models may need a brief trigger hold to move water through the system, while others handle that process differently. Treat the manual’s ready-state and priming instructions as operating steps, not optional advice.
When the model calls for clearing initial condensation or priming away from the garment, aim the head only toward a safe area where hot water or steam cannot hit anyone or damage a surface. Do not wave the head around to “make it heat faster,” and do not start pressing it into clothing before the appliance has reached the state the manufacturer identifies as ready. If steam output is weak at startup, recheck the tank, its installation, the ready indicator, and the required trigger action before assuming the machine has failed. That simple sequence prevents a normal startup behavior from becoming unnecessary troubleshooting.

This 1500W three-in-one handheld unit combines garment steaming and pressing functions. Its titanium ceramic soleplates are listed to heat in 25 seconds, and the 200 ml tank supports up to nine minutes of continuous steam. A 10-foot cord provides added working reach.
Check On AmazonIf you click this link and buy, we earn a commission at no additional cost to you.
Support or tension the fabric without putting a hand in the steam path
If you are learning how to steam clothes, the biggest technique improvement often comes from stabilizing the fabric rather than moving the head faster. A hanging shirt that swings away from the steam wastes motion, so lightly tensioning the lower edge or supporting a section can give the wrinkle a flatter surface on which to relax. Keep the free hand well outside the path where steam exits or where the hot plate may travel. Never steam clothing while it is being worn.
Use the garment itself to decide where support is useful. A large shirt panel can often be steadied from an edge away from the active steam path, while a sleeve may be easier to control by repositioning the garment rather than reaching behind the fabric. Avoid wrapping cloth around your hand as an improvised heat shield unless the manufacturer specifically provides and instructs the use of a protective accessory. The safer habit is to move the garment or its support until your hand no longer needs to be near the steam.

This 24-pack uses velvet non-slip skirt hangers with clips and 360-degree rotating hooks. The clips provide a way to hold garments from an edge instead of relying only on a standard shoulder hanger. The black-and-silver set supports clothing while it is positioned and handled.
Check On AmazonIf you click this link and buy, we earn a commission at no additional cost to you.
Use only the head contact and distance your steamer allows
Direct contact is one of the clearest examples of a model-dependent rule. Philips documentation for a named handheld steamer says its heated plate can be pressed directly against clothing, but that does not authorize the same technique on an unrelated steamer. Other appliances may use a spacer, a brush, a different plate design, or a required operating distance. Follow the instruction tied to the exact head, attachment, fabric condition, and mode you are using.
If the manual allows contact, that still does not mean pressing harder is the answer to a stubborn wrinkle. Keep the head moving as directed and let heat, moisture, and fabric support do the work. If the manual requires space between head and fabric, maintain that spacing instead of drifting closer because the first pass seemed slow. The correct technique is the one the appliance was designed to perform consistently, not the one that feels most aggressive in the moment.

This 1875W Conair handheld steamer has a heated soleplate, five steam settings, and a removable 7.3-ounce water tank. The listing supports horizontal use and includes three attachments plus a built-in creaser. Its head design and operating modes make contact and position model-specific.
Check On AmazonIf you click this link and buy, we earn a commission at no additional cost to you.
Work by garment section instead of soaking one stubborn spot
Divide the garment into panels you can control: front, back, sleeves, and smaller structured areas. Move through one section with steady passes rather than returning to the same wet spot again and again. Steam needs time to relax fibers, and the fabric also needs time to release added moisture before another controlled steam pass. Repeatedly saturating one area can make it harder to judge whether the wrinkle is actually improving.
Start with broad areas because they give you room to learn how the fabric responds before you reach seams, trims, or decorative details. If a wrinkle remains after reasonable passes, pause and reassess support, garment position, permitted head contact, and whether the fabric has become too damp to show further improvement. A steamer is not a press, so some sharp folds will not disappear simply because more steam is applied. Controlled progress is a better signal than maximum visible steam.

This BEAUTURAL handheld steamer uses a foldable design and a 1000W heater, with the listing specifying a 30-second heat-up. It is designed for portable garment wrinkle removal and 120V operation only, making it a compact option for working through garment sections without a full-size steamer. Its handheld format can be repositioned as you move from broad panels to sleeves and smaller areas.
Check On AmazonIf you click this link and buy, we earn a commission at no additional cost to you.
Treat collars, cuffs, pleats, linings, and embellishments as different jobs
Small garment details change the geometry of steaming. Collars and cuffs often need backing or a permitted pressing surface to hold their shape, while pleats need their existing fold lines respected rather than blurred by uncontrolled steam. Linings can move independently from an outer shell, so steaming only the visible layer may leave the inside bunched. Embellishments, coatings, adhesives, and delicate trims also deserve their own compatibility check before they sit close to a hot plate or concentrated steam.
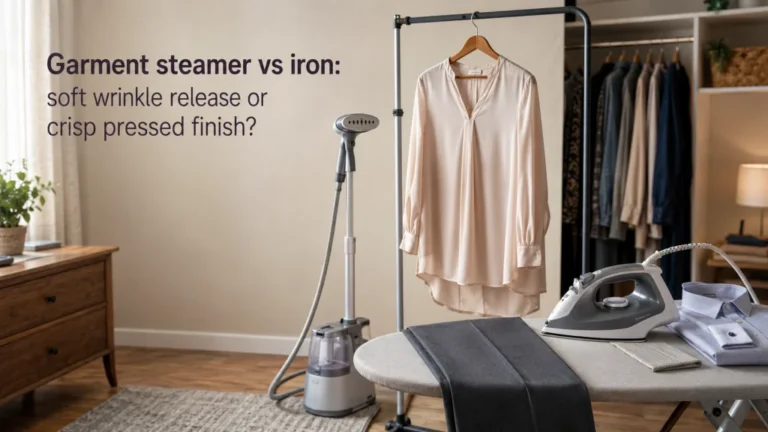
This is where an iron can remain the better tool even when the garment itself is safe to steam. A steamer is good at relaxing wrinkles and restoring drape, but an iron provides pressure and a flat surface for crisp collars, sharp trouser creases, and other structured finishes. The comparison in garment steamer vs iron is useful when the problem is finish rather than basic wrinkle removal. Choosing the right tool is better than trying to force a steamer into a pressing job it was not designed to do.
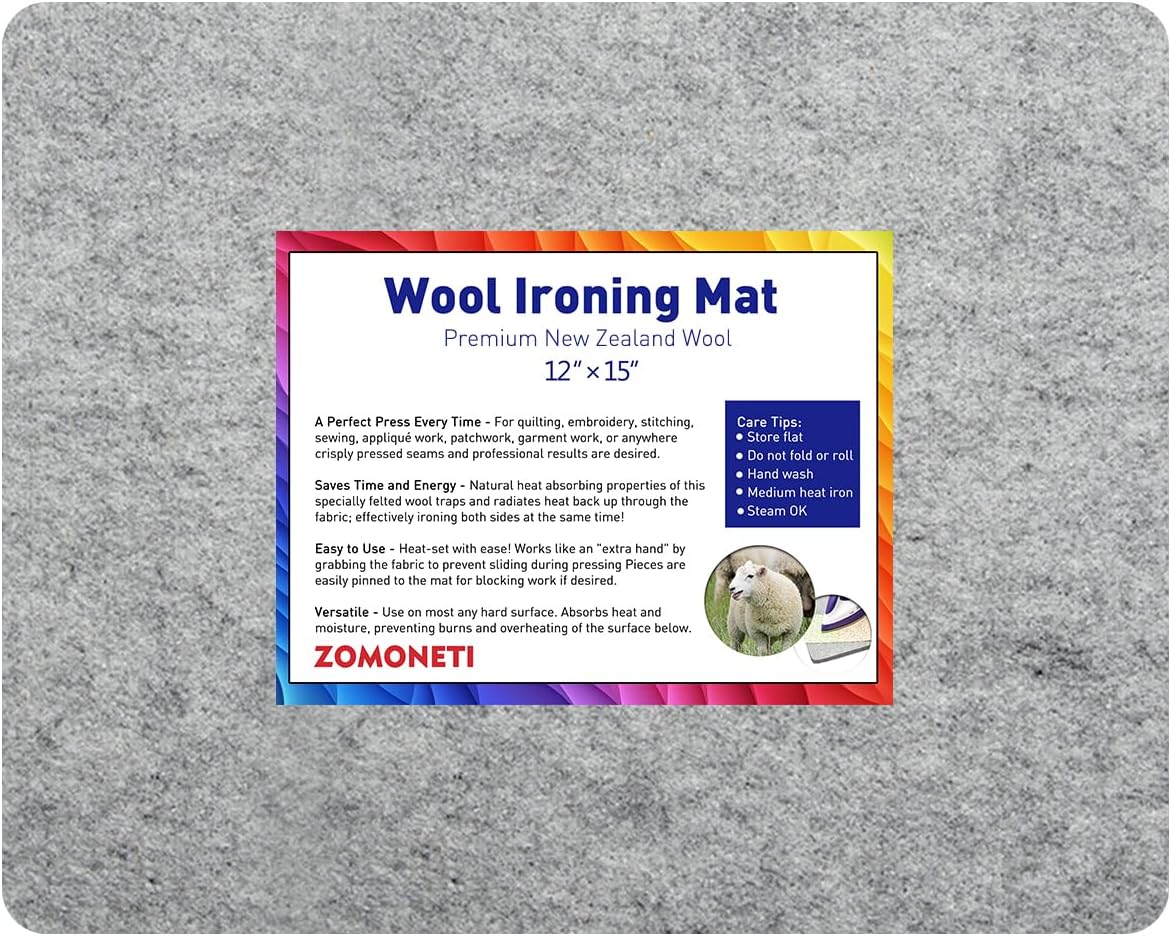
This 15 by 12-inch pressing mat is made with New Zealand wool and measures about 1/2 inch thick. Its compact surface provides a dedicated backing area for collars, cuffs, and other structured details when pressing is appropriate. The smaller format is easier to position than a full-size ironing board.
Check On AmazonIf you click this link and buy, we earn a commission at no additional cost to you.
Change technique only within the positions the model permits
Some steamers are intended to stay upright, while others are designed for additional angles or horizontal pressing. Do not assume a handheld unit can be turned flat because another handheld model can. Orientation affects how water reaches the heating system, how condensation moves, and whether liquid can collect where the appliance was not designed to manage it. A permitted horizontal mode is a feature of a specific design, not a general property of garment steamers.
Reposition the garment before you reposition the appliance outside its approved range. If the cuff would be easier to handle flat but the model is vertical-only, use a stable support arrangement that keeps the steamer within its allowed posture instead of tilting it into an undocumented one. Upright steamers with hoses can also have condensation behavior that differs from compact handheld designs. The manual’s orientation diagrams deserve the same attention as the power button because they define how the water and steam path are supposed to behave.

This two-in-one travel unit combines steaming and ironing in one handheld appliance. The listing specifies 100 to 220V operation, a large ceramic heat panel, and a compact body measuring about 10.23 by 3.9 inches. Its separate steam-and-iron capability makes operating position a model-specific feature.
Check On AmazonIf you click this link and buy, we earn a commission at no additional cost to you.
Pause for refilling or cooldown exactly as directed
Running low on water is a normal interruption, not a reason to rush the refill. Some tanks can be removed and refilled in a straightforward way, while other steam systems may require a specific shutdown, cooling, pressure-release, or refill sequence. Follow the exact instructions rather than opening, tipping, or disconnecting hot parts by habit. If the manual says the unit must cool before a component is handled, treat that as a hard boundary.
Use the pause to inspect the garment as well as the appliance. If the fabric is already damp, continuing immediately after a refill may add moisture faster than it can dissipate through the supported garment during that brief pause. If the unit has been spitting, leaking, or behaving abnormally, do not use a refill as an excuse to restart and hope the problem disappears. Correct the documented owner-level cause or stop and move to troubleshooting before resuming.
Let the garment dry and cool before wearing or storing it
Steaming adds moisture even when the fabric does not look visibly wet. Leave the garment supported until it feels dry and has returned to room conditions before you put it on, fold it, or press it tightly into a closet. Wearing a still-damp shirt can let new wrinkles form at elbows, waistbands, or seat areas before the fabric has settled. Storing damp fabric also hides whether a remaining mark is a wrinkle, condensation spot, or a stain that needs separate care.
The same waiting period helps you judge the result honestly. A wrinkle that looks relaxed while warm may change as the fabric cools, while a slightly damp area can look darker until the moisture leaves. If the finish is still not right after drying, decide whether another controlled pass is appropriate or whether the garment needs pressing instead. Do not chase a perfect result while the fabric is too wet to tell you what the last pass actually accomplished.

This foldable Amazon Basics drying rack measures about 29.5 inches wide and 41.8 inches high. Its collapsible frame is designed for indoor air drying and can be folded for storage. It gives damp garments an open support area while they cool and dry before wearing or closet storage.
Check On AmazonIf you click this link and buy, we earn a commission at no additional cost to you.
Finish with the model-approved tank and scale reset
Powering off ends active steaming, but it does not automatically leave the appliance ready for storage. Follow the manual for unplugging, cooling, tank emptying, hose draining, wiping, drying, and any storage position the design requires. Some manufacturers recommend emptying the tank after use, while scale-management procedures can vary widely by series. Do not borrow a vinegar recipe, rinse mode, or descaling sequence from another brand just because the appliances both make steam.
For maintenance beyond routine emptying and wiping, use how to clean a garment steamer and then verify the exact procedure against your model manual. Scale care is not the place to improvise chemistry because additives that are harmless in one household context can damage seals, coatings, pumps, or steam paths in another appliance. Store the unit only after hot parts have cooled and removable parts are in the condition the manual specifies. A clean reset makes the next steaming session easier to diagnose if anything behaves differently.
Stop normal use when the steamer leaks, spits, overheats, or stops behaving normally
Normal owner use ends when the appliance stops behaving as the manual describes. No steam, repeated spitting, leaking, abnormal heat, smoke, sparks, a burning odor, exposed wiring, uncontrolled operation, or a damaged cord should not be ignored. Some symptoms have simple documented checks such as water level, tank seating, ready state, or orientation. Anything beyond those checks belongs in troubleshooting or service.
A pumping sound can be normal on some models, and startup condensation may have a documented clearing step. The garment steamer troubleshooting page is the next stop when normal operation fails. Do not open the appliance, bypass safety features, probe electrical parts, or keep using a unit that leaks into electrical areas. Follow any manufacturer stop-use or service instruction.
Stop-and-troubleshoot check: Stop normal use when behavior falls outside the manual’s normal description. Recheck only listed owner-level items such as water level, tank seating, ready state, orientation, and approved cleaning status. If the problem continues, use the model’s troubleshooting or service instructions instead of repeating steam passes. Damaged cords, smoke, sparks, burning odor, exposed wiring, or water reaching electrical areas require immediate stop-use.
Technique can improve a normal steamer, but it should not explain away a safety symptom. After the listed owner-level checks, repeated abnormal behavior is a reason to stop. Treating every problem as “not enough steam” risks both the garment and appliance. Normal operation ends where internal repair or service begins.
Final thoughts: support the garment and follow the model before adding more steam
Good steaming is mostly controlled preparation. Give the garment a stable support point, use the water and fill level the exact steamer permits, wait for the correct ready state, and keep your hands outside the steam path. Then use only the contact, distance, attachment, and orientation the model was designed to handle. More passes are not a substitute for fixing a poor setup.
If you are still deciding what type of appliance fits your routine, the garment steamer buying guide moves back one step to capacity, handling, storage, and feature choices. If you already own the steamer, keep the operating sequence simple enough that you can repeat it without guessing. Stable fabric plus model-correct setup makes results easier to read and problems easier to recognize. When something falls outside normal behavior, stop using technique as the fix and follow the troubleshooting boundary instead.
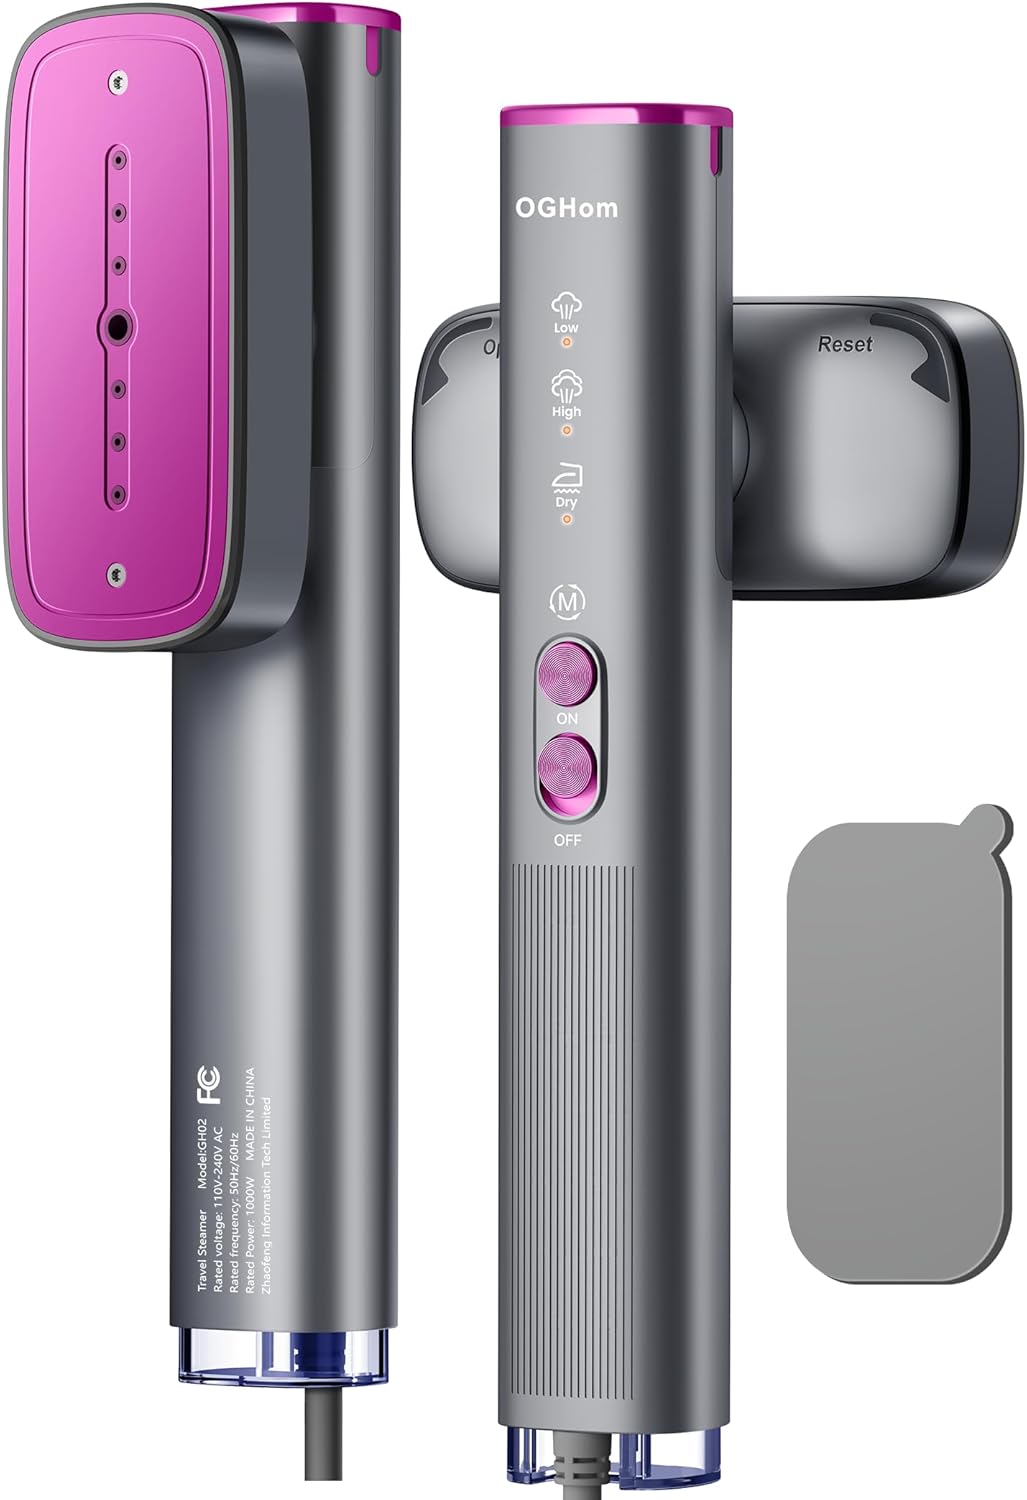
This 1000W OGHom travel appliance combines a garment steamer and iron in one handheld design. The listing specifies 110 to 240V operation, a 30-second heat-up, dry mode, and two steam settings. Those model-specific controls reinforce the need to use the exact appliance as designed.
Check On AmazonIf you click this link and buy, we earn a commission at no additional cost to you.
Frequently asked questions
The questions below cover common points of confusion during normal steaming. They stay model-first because similar appliances can use different water, contact, orientation, and refill rules. Use the answers as a check, not a substitute for the manual. Resolve garment compatibility before operating the steamer.
These answers also separate normal use from troubleshooting. Technique can help a normal steamer, but leaking, electrical damage, persistent spitting, or abnormal heat should not be normalized. The next step depends on the symptom and exact model. When in doubt, stop normal use and follow manufacturer support.
💧 Can I use tap water in my garment steamer?
Only if the manufacturer allows it for your model. Local water hardness can change the recommendation, so check the manual before choosing a water type.
👕 Should the steamer head touch the fabric?
That depends on the head design and manual. Some models allow direct contact, while others require spacing or an attachment.
↕️ Should I move a garment steamer up or down?
Use the motion shown for your model. Stable support, permitted contact, controlled passes, and avoiding saturation matter more than one universal stroke.
🧥 Can I steam clothes while wearing them?
No. Place the garment on a stable support and keep skin away from hot steam and heated surfaces.
🫧 Why is my garment steamer spitting water?
Possible causes include water level, heat-up, condensation, orientation, scale, or tank seating. Use only documented remedies, and stop if spitting persists or comes with leaking or abnormal heat.
🧷 Why are wrinkles still visible after steaming?
The fabric may need better support, drying time, permitted contact, or pressing rather than more steam. Structured details may need an iron’s pressure and flat surface.
References and sources
These sources support the operating, water, contact, orientation, and troubleshooting boundaries in this article. Manufacturer pages apply only to the models or families they identify. Independent testing provides usability context, not universal operating rules. The exact manual remains controlling when details differ.
The source list is intentionally limited. Its purpose is to show where model-specific rules diverge and why generic advice needs an evidence boundary. Direct-contact permission for one model does not prove another model allows it. The same principle applies to water, orientation, priming, cooldown, and maintenance.
- Rowenta beginner steaming instructions: supports general setup, heating, garment support, and handling guidance.
- Philips water guidance: documents model-specific water and additive rules.
- Philips direct-contact guidance: documents direct plate contact for a named model.
- Philips steamer support: provides model documentation and troubleshooting topics.
- Good Housekeeping garment steamer testing: supports differences in steam consistency and usability.